Hey there! Welcome to iPrint. If you have a file you want to print, We've got a few tips for you to get your digital artwork ready to print. Remember that not following the guidelines might delay your work, so let's make sure you've followed all the steps before submitting!
Important Notice: If you do not have design experience and do not know how to use software like Adobe Photoshop or Adobe InDesign, You can simply choose the proofing option when you order and a member of our graphic team will do all of this for you at a very low cost.

Here's a quick checklist for you:
1. Your ready-to-print file's format should be: PDF (Best option), JPEG, JPG, PSD, AI, and EPS

2. Change all print files to CMYK colour mode. If your artwork is black and white, make sure it's in grayscale colour mode.
3. All fonts should be outlined, and images need to be added/embedded.
4. Keep at least a 1-point space between elements. Your lines should be at least 1 point thick.
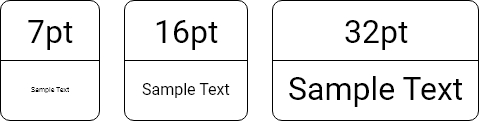
5. Don't use fonts less than 7pt.
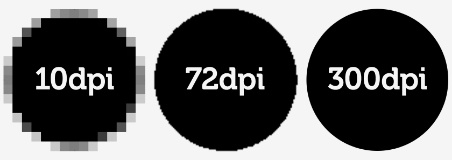
6. Upload images with a high resolution, preferably 300 dpi or more.
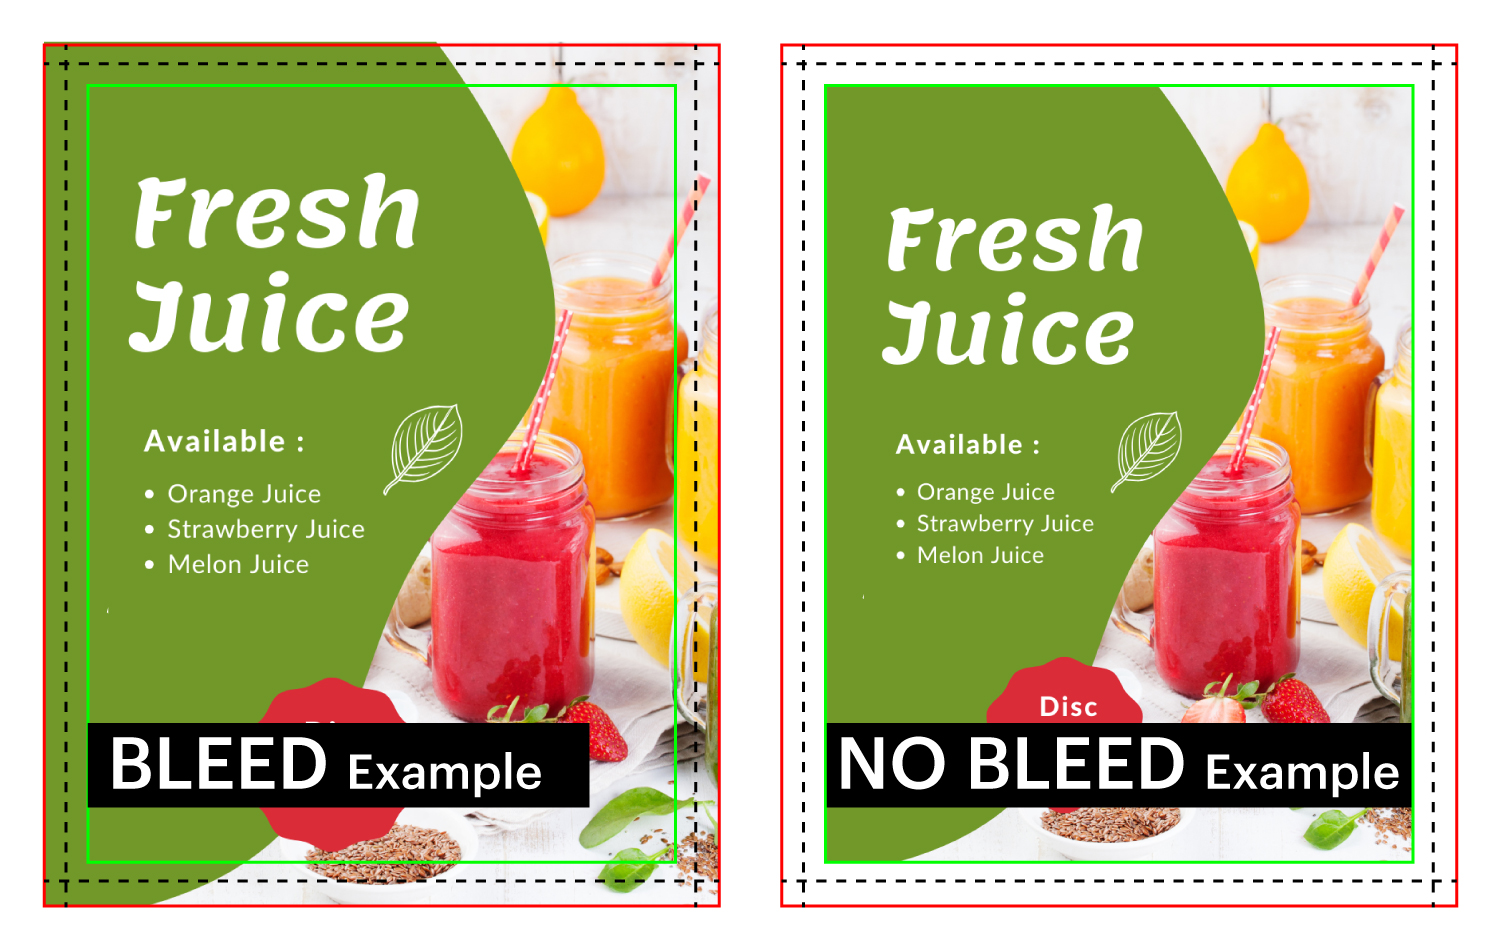
7. Leave at least a 0.125" bleed area on each side for crop marks and a safe space for text and images.
8. Make sure there's no white border between your artwork and the bleed line.
9. Keep text at least 0.25" away from the artwork edge to avoid unexpected cropping.

10. File size shouldn’t exceed 100 MB - if it does, send it to info@iprint.com.
11. Use spot colour to show the contour cut line and name it something unique.
12. Keep the contour cut line on its print work layer and make sure it’s untouched and continuous.
Computer screens can sometimes trick you, so the colours you see may not be 100% accurate. To make sure the print is accurate, convert all colours and images to CMYK mode before submission.

"Bleed" is just the extra elements extending beyond the work's trim area. It's there to avoid any white strip showing on the edge of your print. The standard bleed area for common docs is 0.125" on each side. Large print projects may need more space.
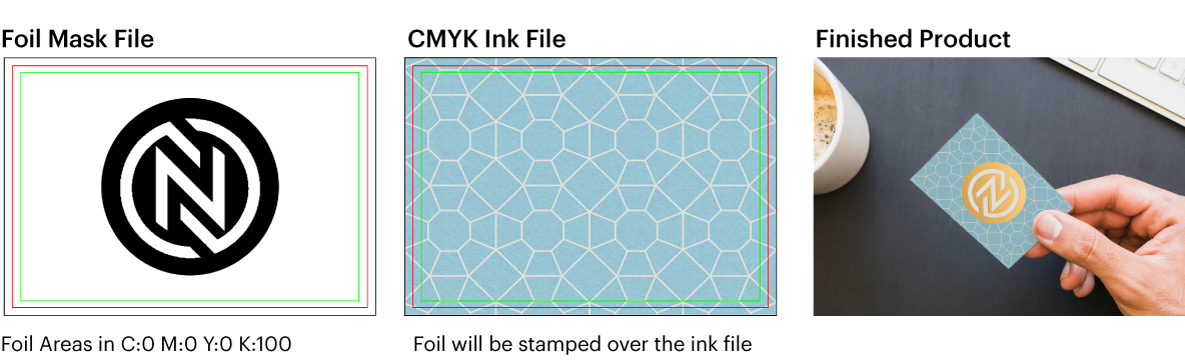
Do you have a design with a special finish? You'll need two files - one for the artwork, and one for the finish. For the finish, we need a vector PDF saved in black and white. Use 100% black (K) to show where the UV coating is meant to go.
A digital proof is just a preview of your design. It helps ensure that everything is in place and the text is all good. Once your order's done, we'll send an online proof. Remember, these proofs are low-res, just enough to check the position of elements.
Don't rely on the proof for colour accuracy. If it's very important, ask us for physical proof (hard copy). Transparencies and line art must be scanned full size unless it's too big - aim for half or a quarter of the final size in that case.
Contact Info
Pickup Hours
Mon - Fri 8:30 A.M. to 5:30 P.M.

Your Print, Sign and Promotional Partner